Setting Up a Saltwater Aquarium
Overview
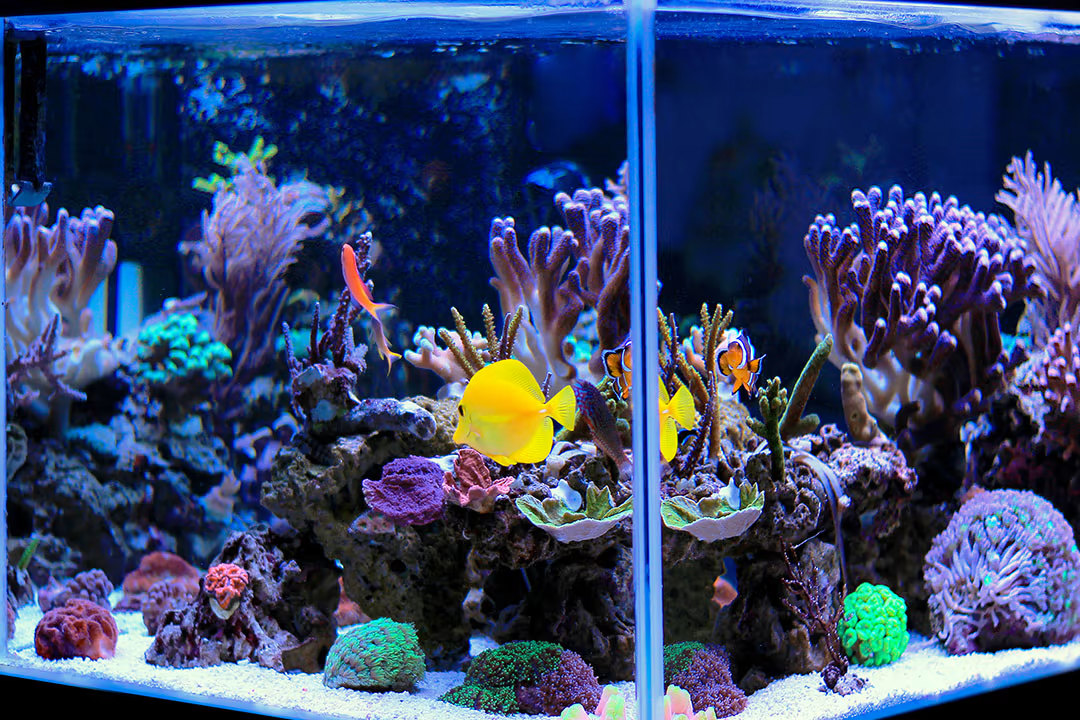
Bringing a piece of the ocean into your home is more doable than you might think. Marine aquariums start out as simple tanks of water, then aquatic life is added with the goal of creating the ultimate saltwater environment. A little extra care and patience in the beginning will go a long way toward preventing headaches and creating a healthy and happy aquarium for years to come.
Setting up your saltwater aquarium
Choosing a location
Before doing any work with the tank itself, determine the best location for your aquarium. It should be placed away from direct sunlight, windows, outside doors, heat vents and air conditioners. Rapid changes in water temperatures are extremely stressful for all aquatic life but especially so for saltwater fish.
Keep in mind that water weighs approximately 8 pounds per gallon, so a 55-gallon tank will weigh over 440 pounds! Be sure your floor will support this amount of weight. If you rent your home, check your lease; some apartments and condos limit the size of aquariums allowed. Also, check for electrical outlets. Most marine tanks will need access to at least four sockets. Allow enough distance between the wall and the back of the tank to adequately fit your filters and allow easy access for maintenance.
Setting up and preparing the tank
- Start by rinsing out the aquarium with warm water to get rid of any dust or debris inside
- Position the aquarium stand into place, making sure it is level. If you don't have access to a carpenter's level, place the aquarium on its stand and fill with 1–2 inches of water. Check that the water is an even distance from the top of the stand on all four sides; an unbalanced aquarium can be extremely hazardous. Placing an aquarium on an uneven or tilted surface increases the risk that the tank will tip over, crack or leak. A proper stand designed for an aquarium is important; using anything other than a manufactured tank stand may void your tank's warranty
- Make sure there is enough space between the wall and the back of the aquarium to adequately fit filters and cords and allow easy access for maintenance
- If using an aquarium background, affix the background to the tank before filling with water and placing the aquarium against the wall
- Fill the aquarium about a third of the way. Carefully dry off the bottom edge of the tank and stand, then check for leaks. Look for water beading up on the bottom edge or running down the sides of the stand. If the aquarium leaks, empty it and return it to the store for a replacement. You can attempt to fix it, but repairing a leaky tank is difficult, with no guarantee of success
Building your aquarium
- Filter and skimmer: Set up your filter and protein skimmer, if utilizing, according to the manufacturer's directions. Do not plug your filter or protein skimmer in yet
- Add substrate: Rinse substrate and décor before placing into the aquarium—a kitchen colander works well, but be sure to disinfect it before using it for food preparation. If purchasing live sand, rinse it in a bucket of premixed saltwater, then discard the dirty saltwater. Do not add live sand to the aquarium until after the salt has been added
- Fill the tank: If no leaks have been noted, fill the tank with water, leaving a couple of inches below the top to allow for water displacement if live rock and sand are being added. To protect the décor and aquascaping, as well as prevent splashing, place a small saucer or bowl into the tank and pour the water directly onto that. Check the tank for leaks
- Water conditioner: Add the appropriate amount of water conditioner or additive to the tank
- Heater: Place the heater into the tank. Do not plug it in at this time. The best placement depends on the type of heater. Non-submersible clip-on heaters that must hang vertically in the tank should be placed as close to the outflow of the filter as possible. Submersible heaters should be placed as close as possible to the intake of the filter. These placements allow the heated water to be better dispersed throughout the tank. Recheck the aquarium again for leaks
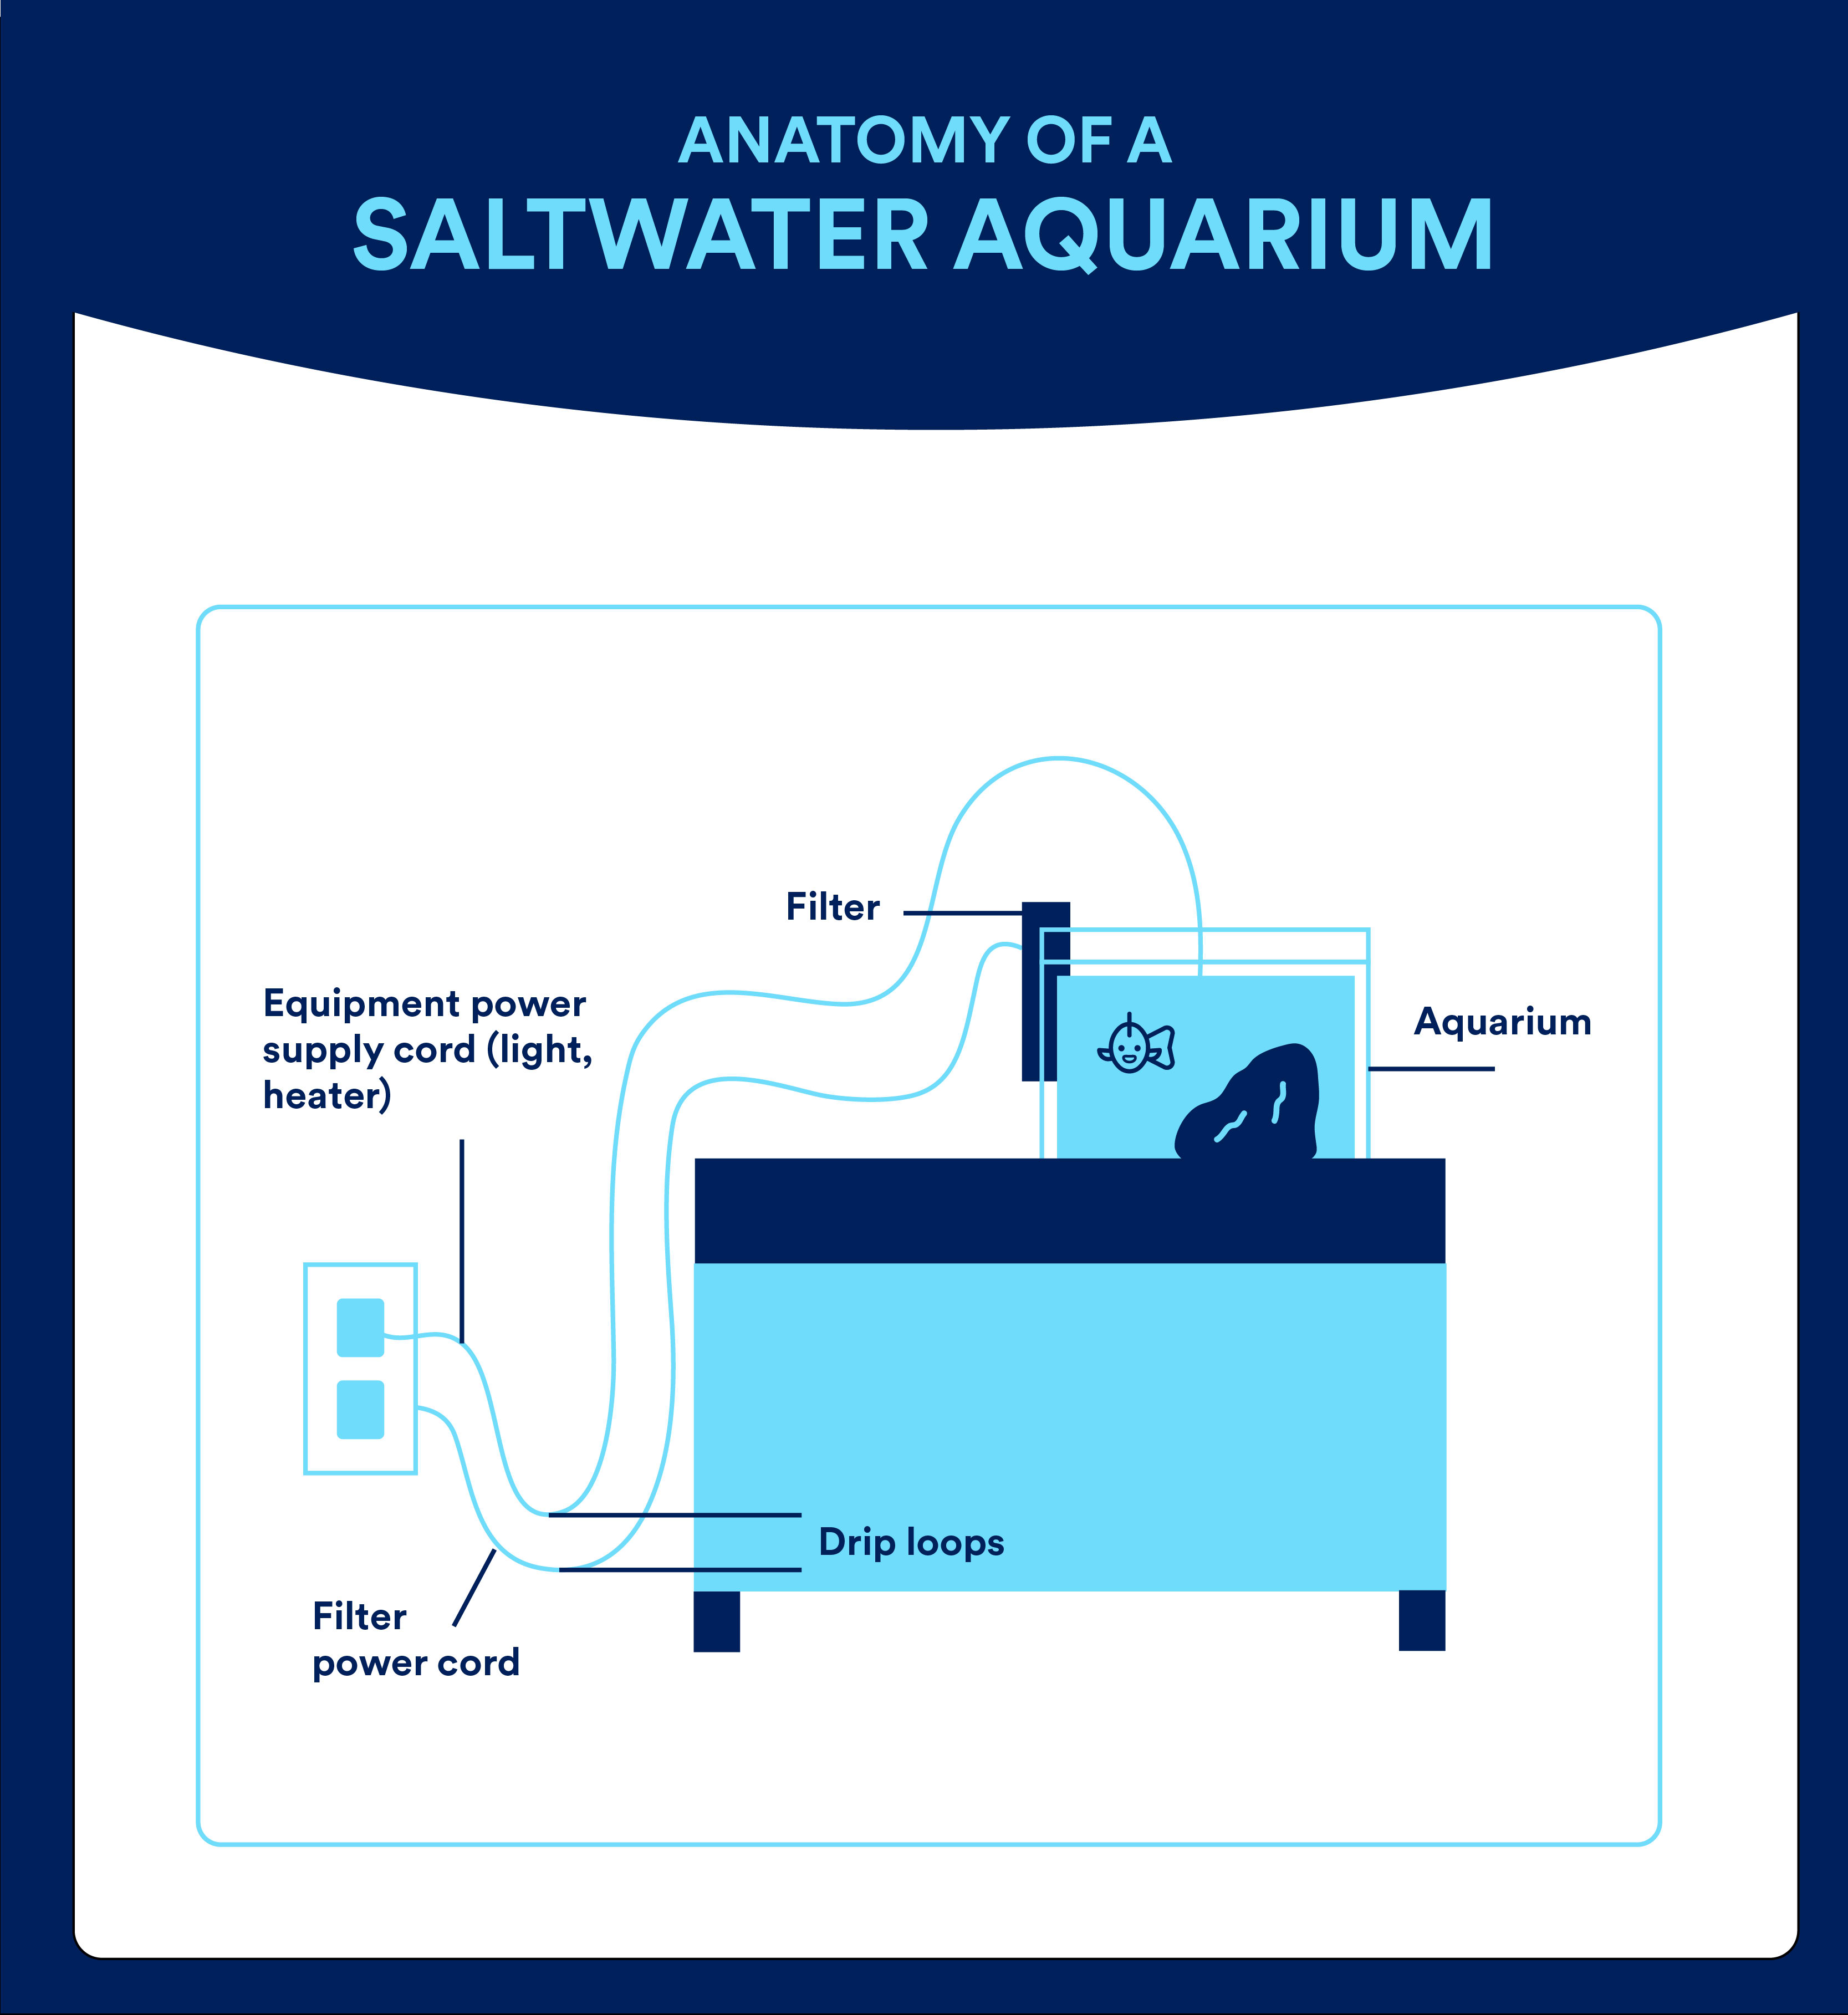
- Thermometer: Install the thermometer according to the manufacturer's directions. The thermometer should be on the opposite end of the tank from the heater in a position that is easy to check. Place the hood and light (if applicable) onto the tank. Plug in the filter and light. Make sure the cords running from the tank touch the ground before looping back up to the plug. This is called a “drip loop” and prevents water from running down the cord into your electrical socket. Wait 20 minutes, then plug in your heater and protein skimmer. Top off your water level, if needed. Following the instructions included with the heater, adjust your heater to keep your tank between 74 and 80°F
- Salt: Start adding commercial marine salt, a little at a time, until you get a specific gravity reading of around 1.020 with the hydrometer or refractometer. Your goal is a specific gravity of 1.020 to 1.025 for fish–only aquariums and 1.023 to 1.025 for aquariums that house fish and invertebrates. It may take up to 24 hours for the specific gravity level to stabilize, so wait before making your final specific gravity adjustments. After the specific gravity has reached 1.020, you can add live sand and live rock, if desired. Add more water to finish filling the aquarium, if needed
- Heater: Place the heater into the tank. Do not plug it in at this time. The best placement depends on the type of heater. Non-submersible clip-on heaters that must hang vertically in the tank should be placed as close to the outflow of the filter as possible. Submersible heaters should be placed as close as possible to the intake of the filter. These placements allow the heated water to be better dispersed throughout the tank. Recheck the aquarium again for leaks
- Thermometer: Install the thermometer according to the manufacturer's directions. The thermometer should be on the opposite end of the tank from the heater in a position that is easy to check. Place the hood and light (if applicable) onto the tank. Plug in the filter and light. Make sure the cords running from the tank touch the ground before looping back up to the plug. This is called a “drip loop” and prevents water from running down the cord into your electrical socket. Wait 20 minutes, then plug in your heater and protein skimmer. Top off your water level, if needed. Following the instructions included with the heater, adjust your heater to keep your tank between 74 and 80°
- Salt: Start adding commercial marine salt, a little at a time, until you get a specific gravity reading of around 1.020 with the hydrometer or refractometer. Your goal is a specific gravity of 1.020 to 1.025 for fish–only aquariums and 1.023 to 1.025 for aquariums that house fish and invertebrates. It may take up to 24 hours for the specific gravity level to stabilize, so wait before making your final specific gravity adjustments. After the specific gravity has reached 1.020, you can add live sand and live rock, if desired. Add more water to finish filling the aquarium, if needed
Stabilizing period
Your marine aquarium is now set up and running, but don't rush off to buy aquatic life just yet. You need to wait until the temperature and specific gravity have remained stable for 24–48 hours. This allows the atmospheric gases in the water to dissipate and the salt to fully dissolve, and lets you ensure the heater is working correctly. Don't panic if your water becomes cloudy. Wait until the cloudiness dissipates before adding aquatic life.
If the water temperature and specific gravity levels have remained stable for 24–48 hours and the cloudiness has disappeared, you are now ready to begin the cycling process of your new tank. Additives can help speed up the nitrogen cycle. Refer to the Nitrogen Cycle Care Sheet for your next steps.
Ongoing maintenance and care
- Maintaining great water quality with regular water changes and adequate filtration is important to help keep your marine tank healthy.
- Daily: Check filter, water temperature and other equipment
- Weekly: Test water quality at least once a week. If caring for corals and invertebrates, ensure alkalinity, calcium and magnesium levels are stable. Scrape algae growth as needed
- Weekly to monthly: Change 10–25% of the total volume of water every 2–4 weeks, or as needed; change filter media monthly
- CAUTION: Never use soap or chemicals on any elements of a fish tank. A mixture of water and vinegar 50/50 works very well to clean the exterior of the aquarium and any components needing a refresh. Soap and other chemicals can be harmful to aquatic life
Supplies
- Aquarium
- Aquarium stand
- Full-spectrum lighting
- Cover
- Heater
- Filter
- Protein skimmer
- Marine aquarium salt
- Refractometer
- Thermometer
- Water conditioner
- Marine substrate
- Live rock
- Décor
- Water test kit
Tank Health/Troubleshooting
| Health Issue | Symptoms or Causes | Suggested Action |
|---|---|---|
| Issue Cloudy water | Causes Tank cycling (bacteria bloom), substrate residue, organics and heavy minerals in tap water | Suggested Action Perform a 10–25% water change and siphon the substrate, removing residual debris; water clarifier additives may help; reverse osmosis water filters can remove contaminates found in tap water; add a nitrifying bacteria additive |
| Issue Green water | Causes Algae bloom, too much light (direct sunlight), excessive nutrients, overfeeding, overstocked aquarium | Action Reduce photo period and block any direct sunlight; increase water change frequency; reduce feeding; ultraviolet filtration can assist with destroying algae cells |
| Issue pH fluctuations | Causes Buildup of organic material and debris, increased levels of CO2 | Action Perform a 10–25% water change; reduce feeding; increase water circulation and surface agitation |
| Issue Ammonia spike | Causes Insufficient nitrifying bacteria, too many fish | Action Perform a 10–25% water change and do not siphon the substrate; reduce feeding; add a nitrifying bacteria additive |
FAQs
- What supplies do you need for a saltwater aquarium? Some basic items you will need for a successful marine aquarium include an aquarium, stand, light, cover, heater, filter, protein skimmer, marine aquarium salt, refractometer, thermometer, water conditioner, substrate and live rock.
- How do you maintain a saltwater aquarium? Maintaining a marine aquarium will consist of regular tasks, such as daily checks to ensure equipment is functioning properly and topping off water evaporation, plus weekly water testing and water changes that are needed to keep your aquatic life happy and healthy.
Additional resources
Notes and resources
Ask a Pet Care Center store associate about Petco's selection of products available for the care and happiness of your new pet. All products carry a 100% money-back guarantee.
Because all aquatic life are potential carriers of infectious diseases such as atypical mycobacterium and salmonella, always wash your hands before and after handling your aquatic life or habitat contents to help prevent the potential spread of disease.
Pregnant women, children under the age of 5, senior citizens and people with weakened immune systems should contact their physician before purchasing or caring for aquatic life and should consider not having aquatic life as a pet.
Go to cdc.gov/healthypets for more information about aquatic life and disease.
The information on this care sheet is not a substitute for veterinary care. If you need additional information, please contact your veterinarian as appropriate.