How to Use a Gravel Vacuum to Clean Your Fish Tank
Updated On April 22nd, 2025
Routine syphoning of organic waste from your substrate during maintenance is important to the overall health of your aquatic life; this process is commonly referred to as gravel vacuuming! Gravel vacuuming helps remove solid waste from your substrate, and other surfaces, that could potentially cause harmful spikes in ammonia, nitrite and nitrate.
A gravel vacuum usually has a solid rigid tube (imagine a paper towel roll), that has a cap that connects to a longer, thinner, flexible aquarium tube. There are a few widely used methods for achieving the suction needed to allow a gravel vacuum to function properly and they each have their own advantages. Let’s get to the bottom of the methods and how to properly achieve the syphoning needed to perform a thorough gravel vacuuming!
Faucet Assisted Gravel Vacuums
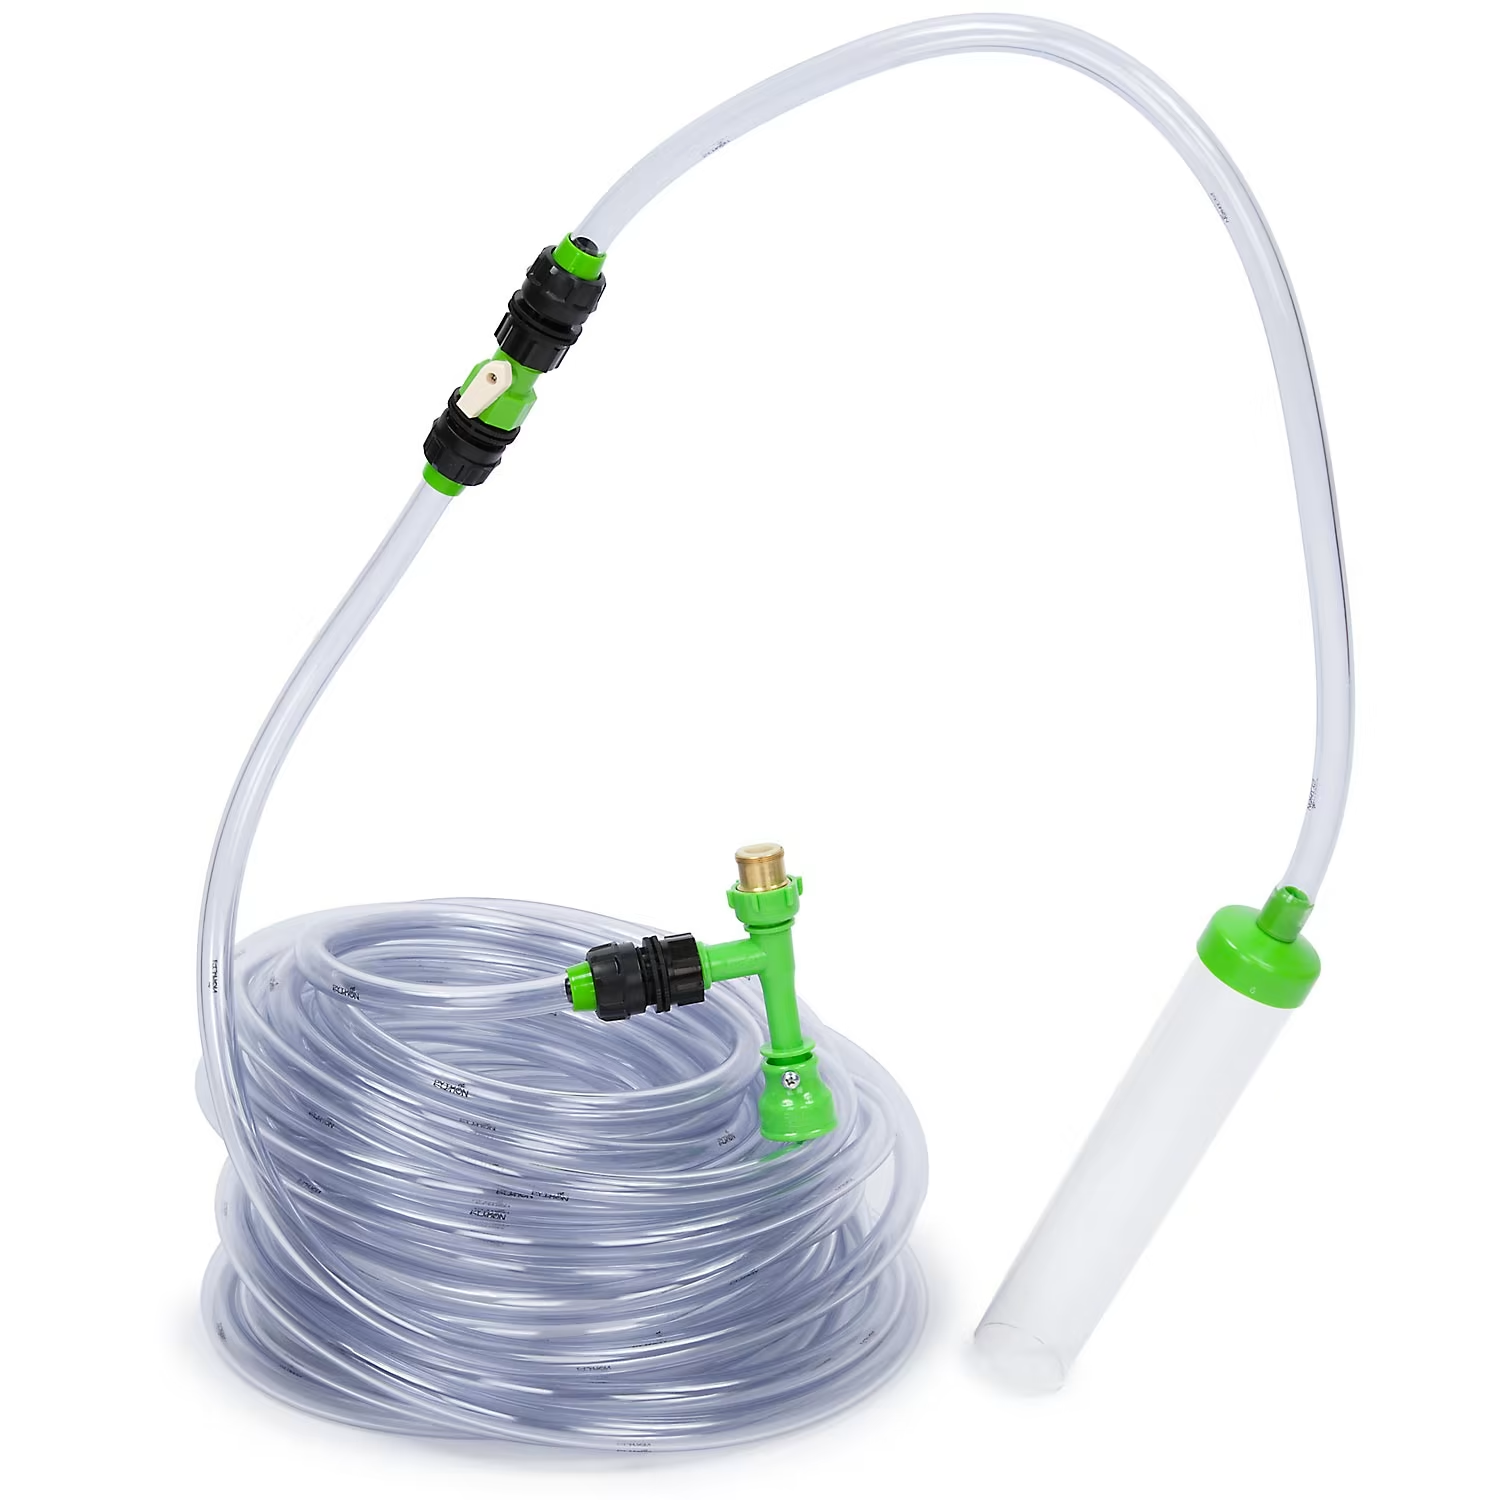
This version of the gravel vacuum might be the easiest, but requires you to be as close to your sink as possible to run the hose from your sink to your aquarium. The kit will generally come with a faucet adapter, a rigid tube for collecting the waste and a long flexible tube to transport the water and waste to the sink. The faucet adapter will have two settings, one for pulling water and waste from the tank and the other for refilling the tank with faucet water. When set to pulling water from the tank, the faucet water will create a vacuum effect as it rushes water past the opening in the tube that is running to your tank, causing the flow of water to be pulled back towards the faucet through the rigid tube, down the flexible tube and into your sink. To ensure you have optimal flow, turn your faucet all the way on and make sure there are no kinks in your hose.
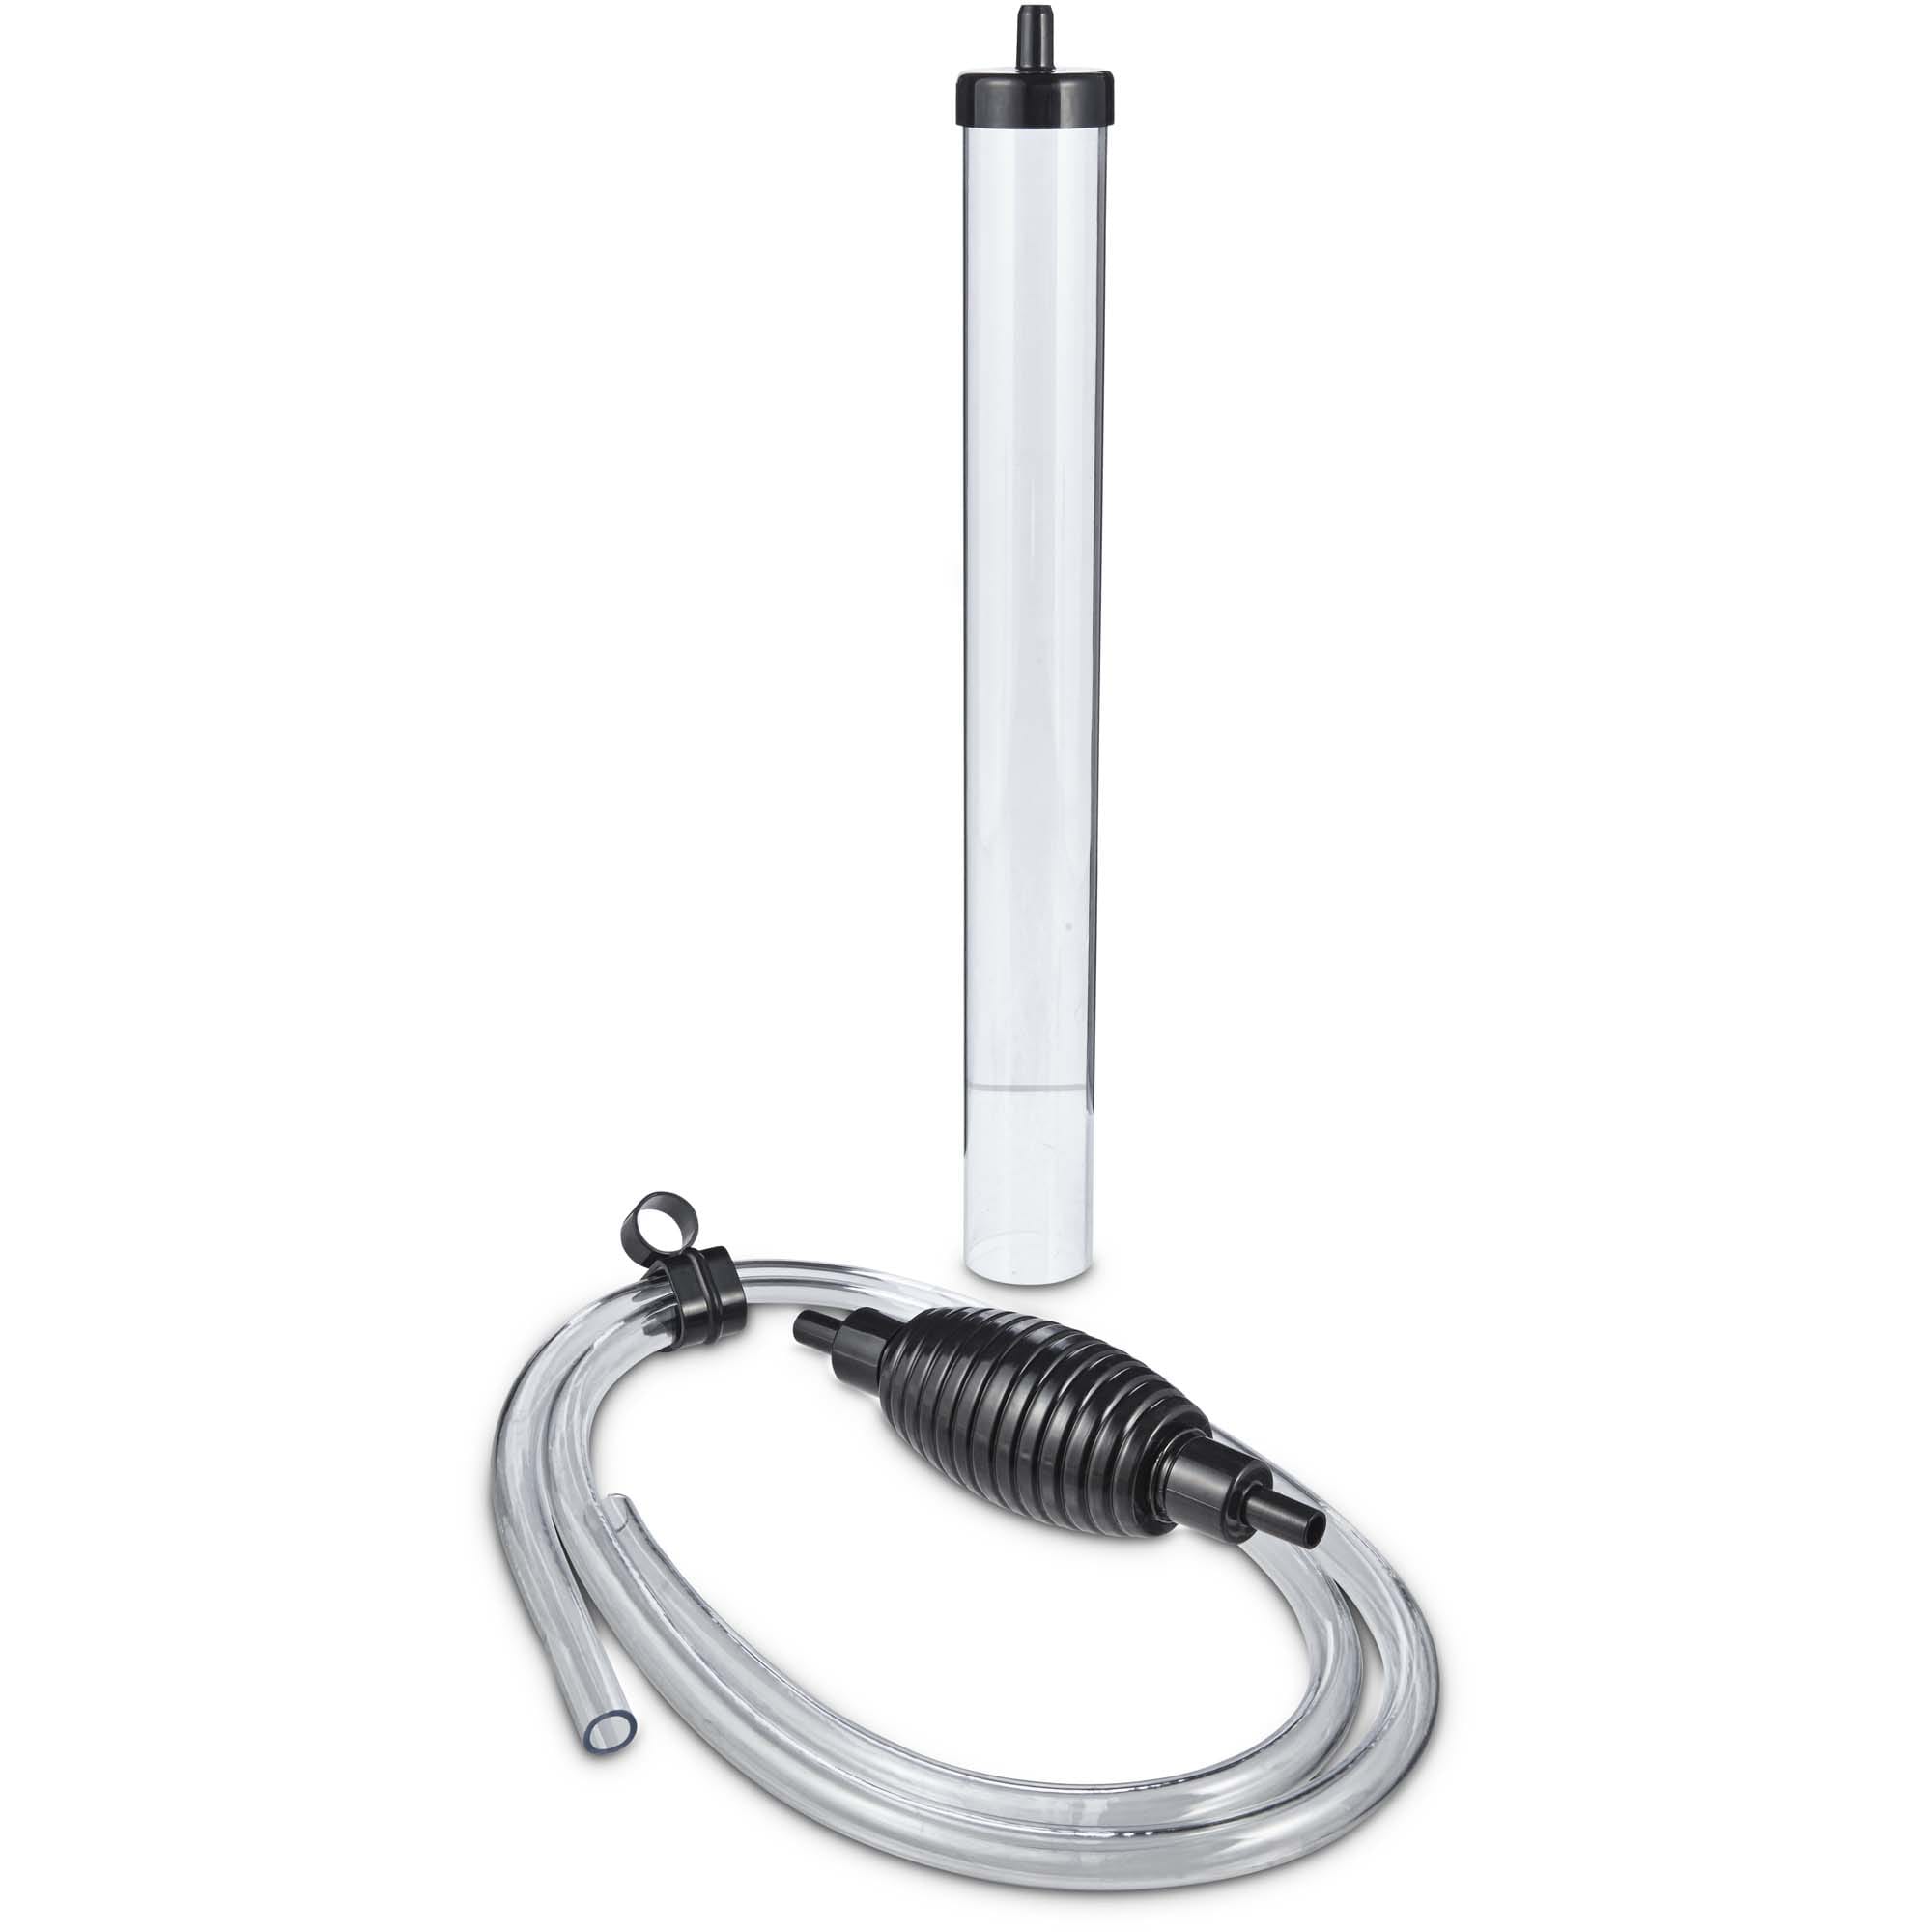
Pump/Bladder Assisted Gravel Vacuum
A more compact method that uses some of the same core parts as the faucet version; a rigid tube with cap that converts to the smaller flexible tube. Instead of a faucet and sink though, there is an inline pump/bladder which empties into a bucket. Place the rigid tube underwater with one hand and place the flexible tube’s end in the bucket before giving the bladder a few pumps to begin water flowing from the tank into the bucket. Once you notice the flow of water has removed all the air from the line, keep the rigid tube underwater and begin carefully syphoning.
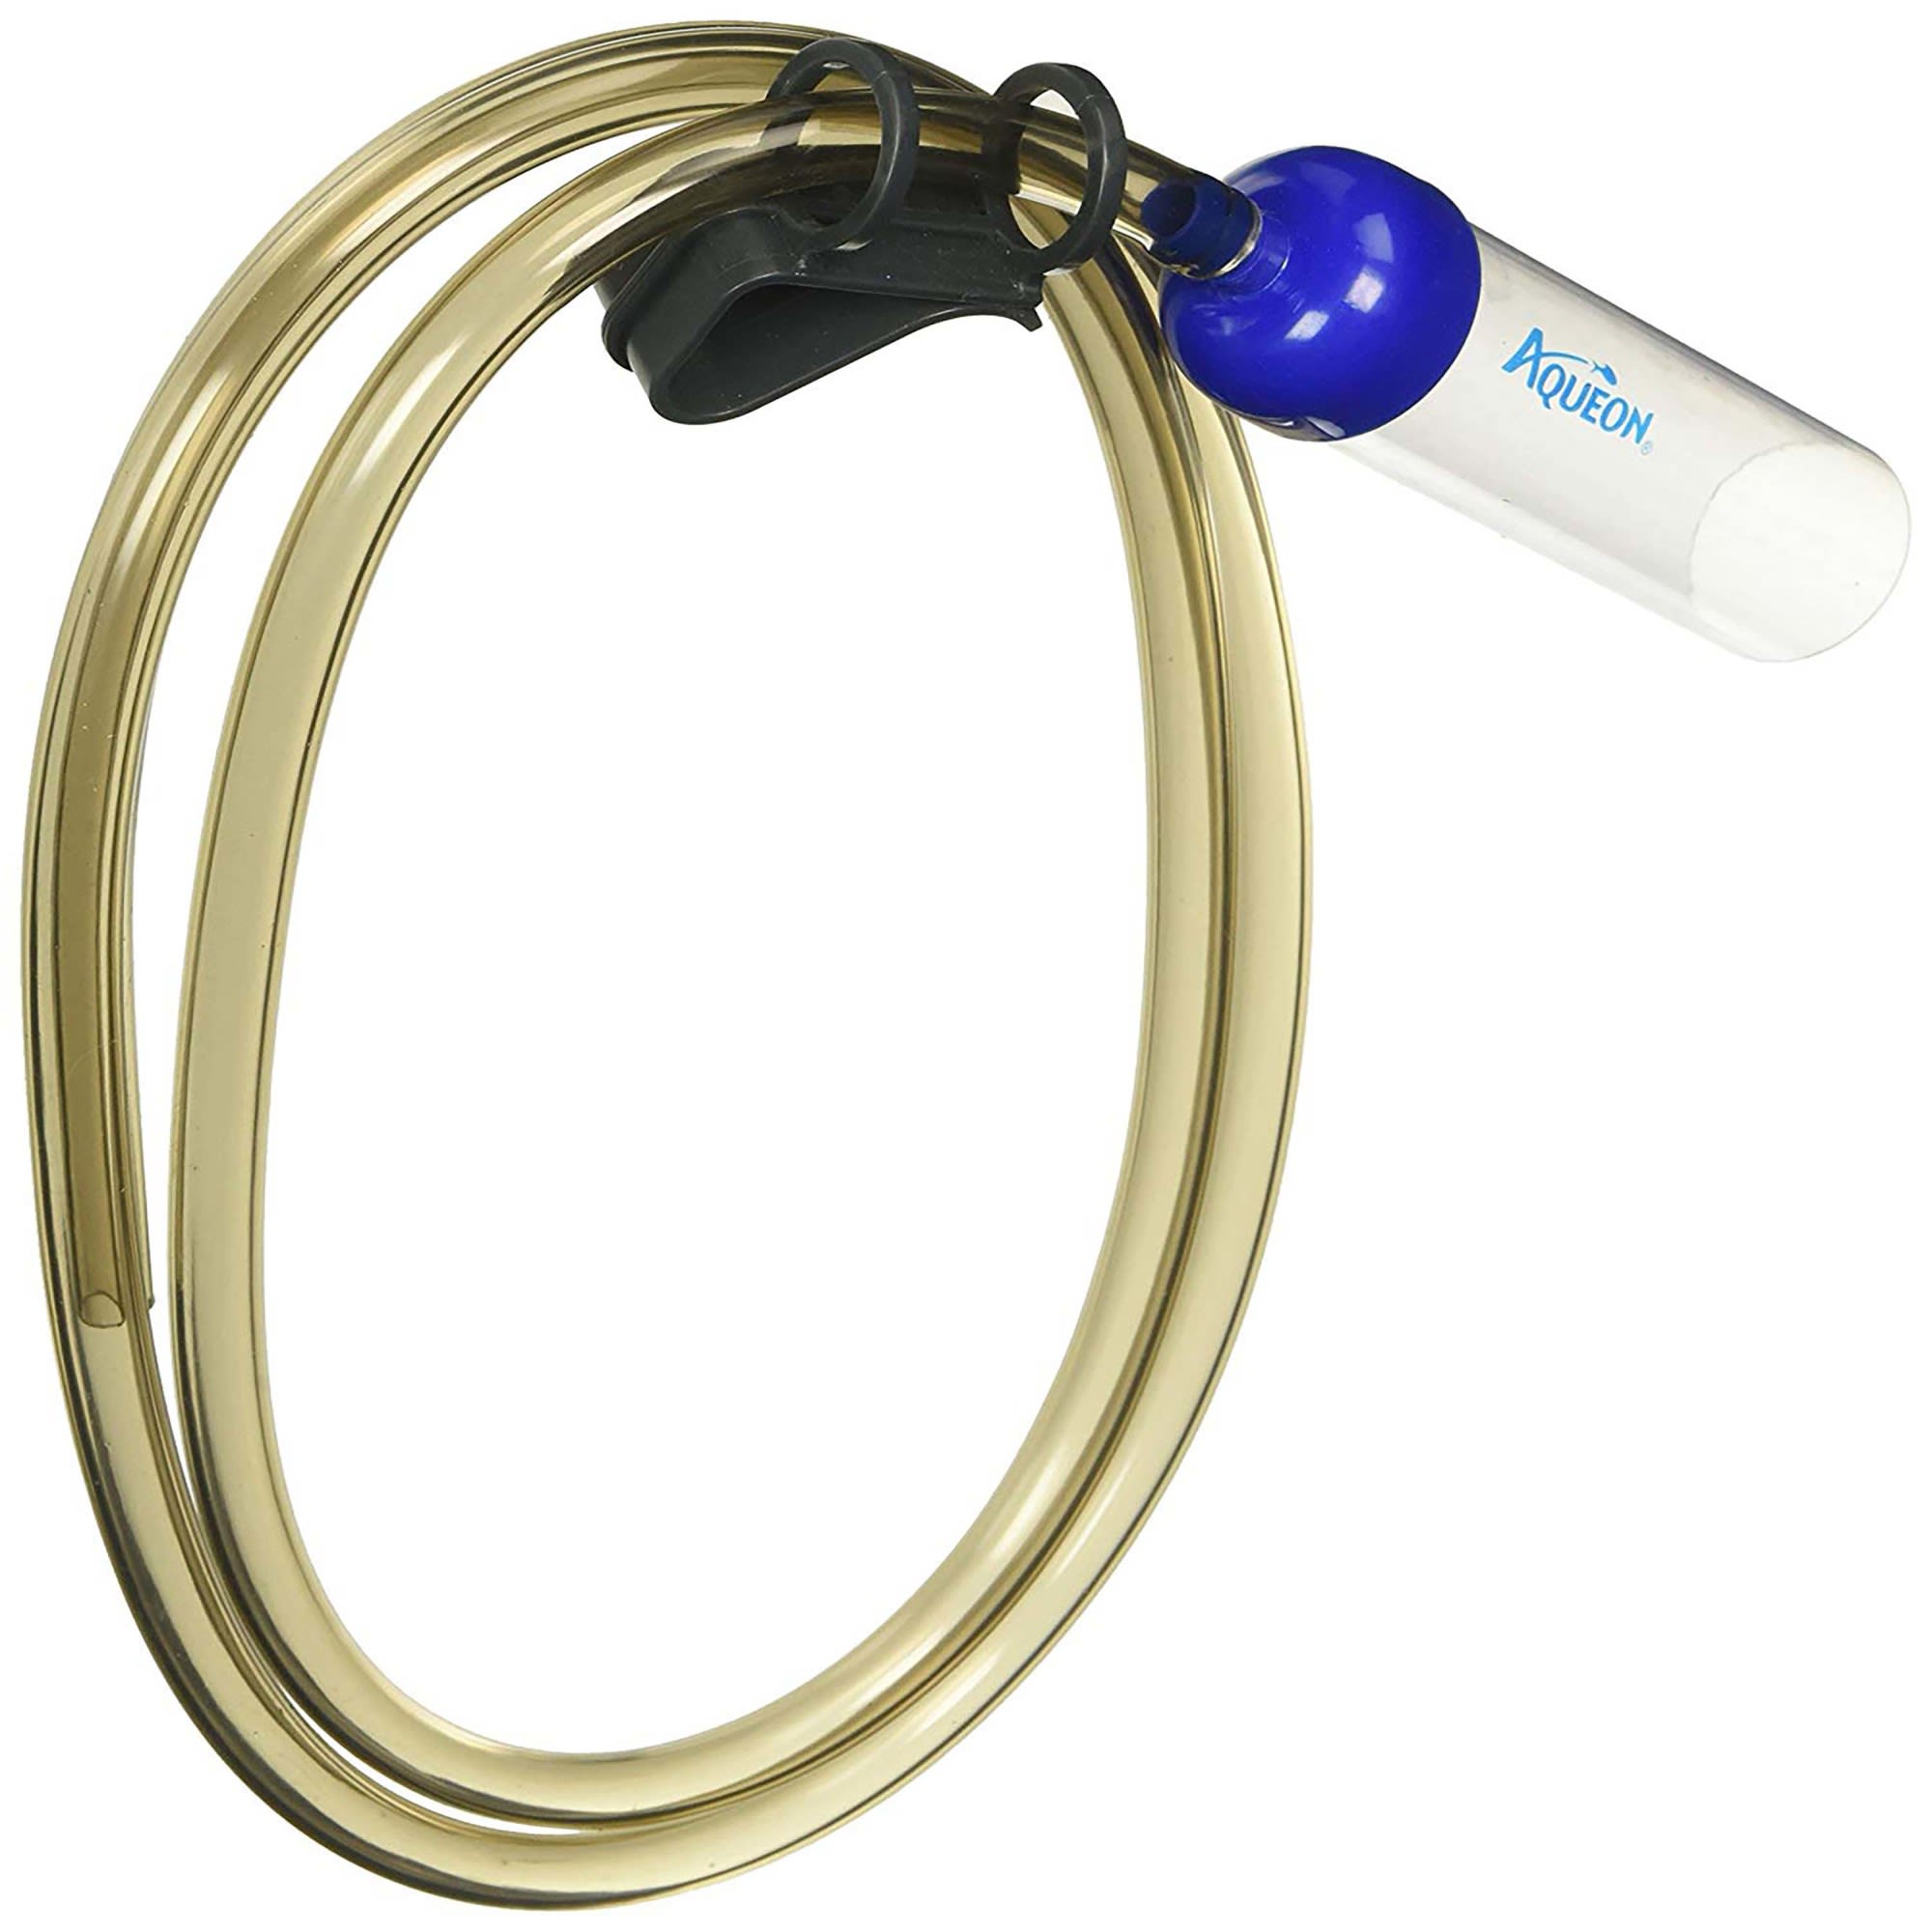
Manual Gravel Vacuums
This version may be the most intimidating but once you get the hang of it, it’s as easy as the others! Note- you should never use your mouth to initiate the flow of a syphon, while rare, some illness can occur when tank water reaches your mouth. This version consists of a rigid tube with cap that converts to the softer flexible aquarium tubing; you will also need a bucket. Place the end of the soft tube in one hand over the bucket, in a position where you can cover the end with your thumb when ready. With the other hand holding the rigid tube, place it parallel to the gravel underwater, tilt it up slowly letting the air out and lift in a scooping motion to capture as much water as possible. As you raise the tube upward and out of the water (if necessary), the water will begin flowing down the tube and into the bucket. Once you notice this happen, cap the soft tube with your thumb and hold it there. With your thumb still covering the soft tube; use your other hand to place the rigid tube back underwater parallel to the gravel. Slightly tilt the rigid tube upward while keeping it submerged- the main goal of this is to remove any air trapped in the tube by tilting it upward. Once the air is out of the rigid tube, remove your thumb from the end of the flexible tube over the bucket; this should start a syphon so you can begin carefully vacuuming your substrate. If this did not start the syphon, repeat the steps above until enough air has been removed from the line and replaced with water to start the syphon.
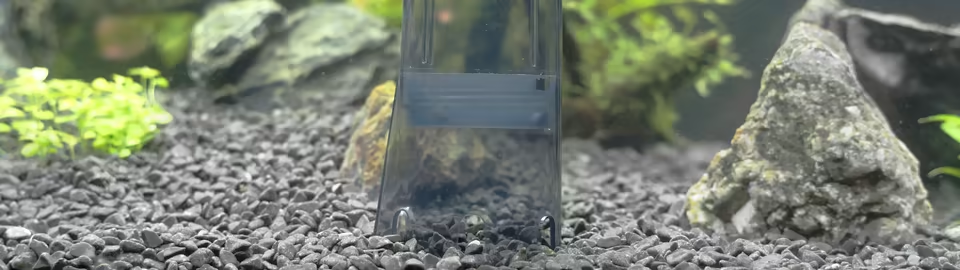
Now that you’ve chosen the best gravel vac for your aquarium and are a pro at starting it, the next thing is to ensure that you are syphoning as efficiently as possible to reduce the amount of time in the tank thereby mitigating as much stress as possible to your aquatic life. Once the syphon has started, begin carefully pressing the gravel vacuum into the substrate until the rigid tube gently touches the bottom of your tank, watching as it tumbles and separates the waste, lifting it up and through the tube into the bucket. While this is happening, slowly lift up to drop the substrate back in place, then move the gravel vac over to clean a new area before repeating the process.
Stay alert and focused!
Cleaning may be mundane for some, but for the safety of your aquatic life, it’s important to keep your eyes on a few things while gravel vacuuming.
- Make sure you’re not close to any aquatic life; if you do happen to capture aquatic life in the rigid tube, do not panic. Break the flow of water and asses the least stressful way to return your aquatic life to the tank. Watch your aquatic life carefully for the next couple of days to look for signs of injury or distress.
- While you’re syphoning the substrate, the more substrate that gets pulled into the rigid tube, the less effective it will be at removing the waste. Continue to use the up and down motion; carefully pressing the tube into the substrate, allowing it to pick up the substrate and the waste. Slowly lift it up to allow the heavier substrate to fall back down and the waste to flow towards the bucket. Try to not let the substrate pass the halfway point of the rigid tube at any time, thus keeping the syphon working as optimally as possible.
- Keep your eyes on the bucket! Break the syphon a little before it’s at the point of where you want it to be, there will be a little water left in the tube when you lift it out of the tank. Only fill as much as you can safely carry. If hooking your gravel vac up to a sink, also keep watch to make sure your sink is draining at an appropriate rate and does not overflow.
Safety reminders when using a gravel vacuum
- Never put your mouth on the tube to create a syphon.
- Be cautious of inhabitants when using the syphon to clean the substrate, as serious injury can occur.
- Keep a close eye on your sink or bucket when syphoning as they could overflow.
- Use caution around water and electrical outlets and cords.
- Unplug heaters that will be exposed to air 20 minutes before conducting a water change and/or pumps if applicable to avoid damage.
- Try to break the syphon before the bucket is 75% full, or sooner if the bucket might be too heavy, this will allow you to have room to let the rest of the water in the tube drain into the bucket as you lift the tube slowly over your head.
- Always use an aquatic safe water conditioner to remove chlorine and chloramine from tap water if applicable.
- If possible, try to make sure the temperature of the added water is exactly, or as close as possible, to the temperature of the water already in the tank. This will reduce the chances of extra stress during the water change process.
- Keep some towels around, just in case!
Now that you understand how to properly gravel vacuum your aquarium; you can help keep it as clean as possible and your aquatic life happy!


Have a Vet Question?
Book an appointment with the pros – our expert vets are here to help.